5 Signs Your Epoxy Floor Coating Is Failing (in 2026)
An epoxy floor coating failing typically manifests through peeling, bubbling, or extensive yellowing. These issues usually stem from poor surface preparation, moisture trapped beneath the slab, or low-quality DIY kits. Identifying these signs early helps determine if you need a localized repair or a full professional grind-off for lasting durability.
What are the main signs of an epoxy floor coating failing?
If you have lived in the Greenville area for a while, you know that our Upstate SC humidity can be tough on concrete surfaces. Whether it is a garage in Simpsonville or a basement in Greer, an epoxy floor is only as good as its bond to the concrete. When that bond breaks, the system begins to fail. Understanding the specific visual cues of a failing floor can save you thousands in further damage to your substrate.
The most obvious sign of an epoxy floor coating failing is widespread peeling, often occurring where your tires sit. However, failure isn't always that loud; sometimes it shows up as subtle discoloration or small cracks that look like spiderwebs. These symptoms aren't just cosmetic—they are warnings that the protective barrier of your floor has been compromised. Once the coating fails, the concrete underneath is exposed to oils, salts, and moisture, which can lead to spalling and structural degradation over time.
1. Peeling and "Hot Tire Pick-Up"
One of the most frequent complaints we hear from homeowners is that their floor is literally lifting off the ground. This usually happens in the form of "hot tire pick-up." When you drive your car into the garage after a commute on a hot South Carolina afternoon, the heat from your tires softens a low-quality or poorly bonded coating. As the tires cool, they contract and grab the epoxy. When you pull out the next morning, the epoxy stays stuck to the tire rather than the floor.
This is a classic sign of a failing epoxy floor caused by inadequate surface preparation. Many big-box DIY kits rely on acid etching, which doesn't open the concrete pores deeply enough. At Greenville Epoxy Flooring, we see this often with "big box" store kits. A professional Garage Floor Epoxy Coating requires mechanical diamond grinding to create a profile the resin can actually bite into.
2. Bubbling and Osmotic Blistering
If you see small, round bumps appearing on your floor, you are likely dealing with osmotic blistering. These bubbles are often filled with liquid and occur when moisture vapor rises through the concrete slab and hits the impermeable epoxy layer. Because the epoxy can't "breathe," the pressure builds until it forces the coating away from the concrete.
This is especially common in older homes in areas like Mauldin or Taylors where vapor barriers weren't installed under the slab during construction. When we perform a Residential Epoxy Flooring Installation , we always conduct moisture testing. If the moisture levels are too high, we apply a dedicated moisture mitigation primer to prevent these blisters from ever forming. Ignoring bubbles usually leads to total delamination within a year.
Why is my epoxy floor peeling or delaminating?
Delamination is the technical term for the coating losing its grip on the substrate. While moisture is a major culprit, chemical contamination is another silent killer. If the concrete wasn't properly degreased before the coating went down, the epoxy is essentially trying to stick to oil or old wax. It might look good for a month, but eventually, the bond will fail.
3. Chalking and UV Yellowing
Standard epoxy is not UV-stable. If your garage floor extends to the apron or if you have an Outdoor Epoxy Floor that receives direct sunlight, the UV rays will break down the chemical bonds of the resin. This results in "chalking," where a white, powdery residue forms on the surface, and the color begins to yellow or amber significantly.
For homeowners looking for long-term clarity, we often recommend a Polyaspartic Floor Coating as a topcoat. Polyaspartic is UV-stable and won't turn that ugly yellowish-brown color over time. If your current floor looks like it has a tan, it’s a sign that the resin is degrading and will soon become brittle and prone to cracking.
4. Cracking and Crazing
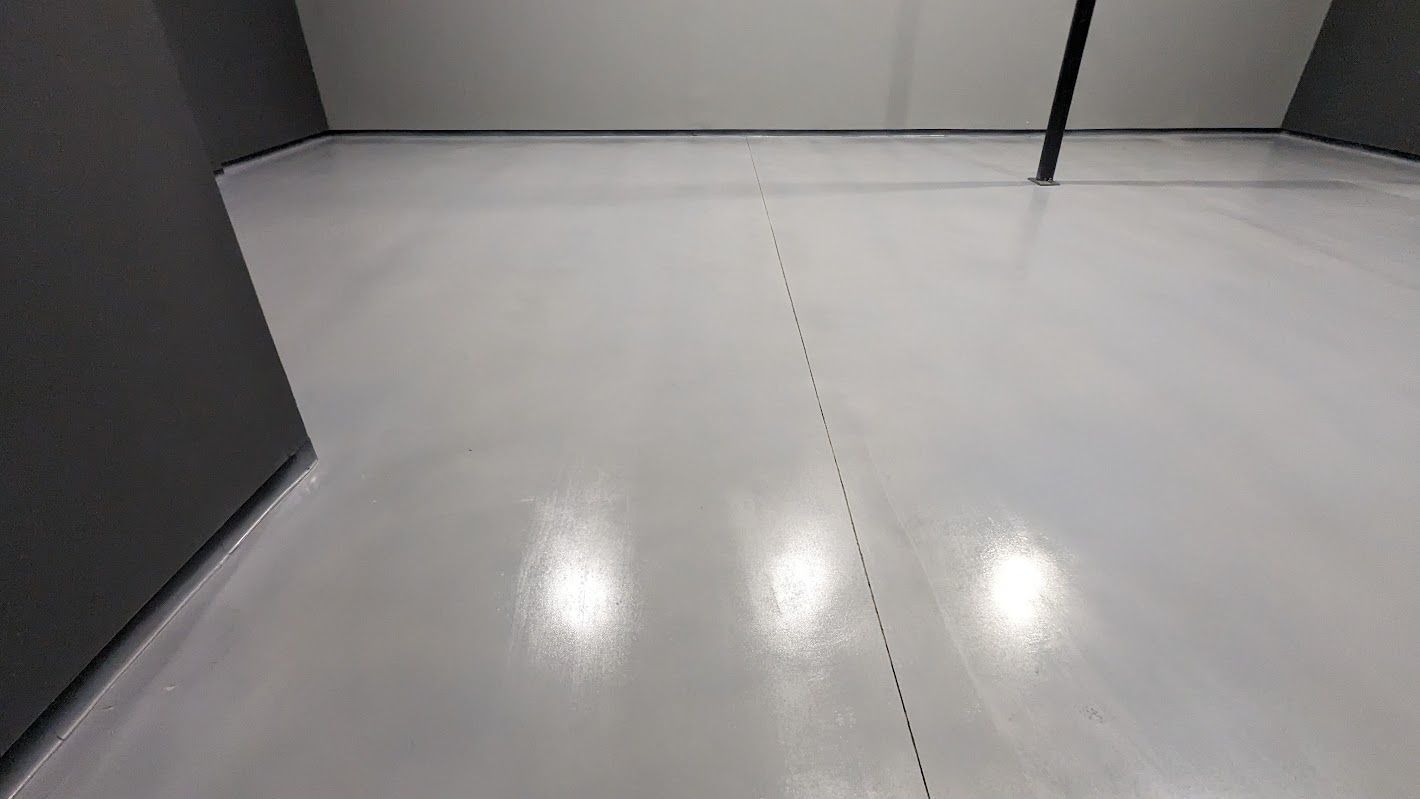
Not all cracks in an epoxy floor are caused by the coating itself; sometimes the concrete underneath moves. However, if you see a network of very fine, shallow cracks (known as crazing), it usually means the epoxy was mixed incorrectly or applied too thick. If the resin cures too quickly due to high heat, it can shrink and pull itself apart.
In Greenville, we deal with temperature swings that can cause concrete to expand and contract. A rigid, low-quality epoxy can't handle that movement. Professional-grade systems have a slight amount of flexibility to move with the slab. If your cracks are getting wider, it means the coating is no longer protecting the concrete joints, leading to potential water intrusion and further damage.
How does moisture cause epoxy floor failure?
Moisture is the number one enemy of any resinous floor system. Concrete acts like a sponge; it pulls moisture from the soil through capillary action. If the slab is damp, the epoxy cannot penetrate the surface. Instead, it sits on top of a thin film of water. Even if it feels dry to the touch, the hydrostatic pressure from beneath can be immense.
5. Excessive Wear and Loss of Gloss
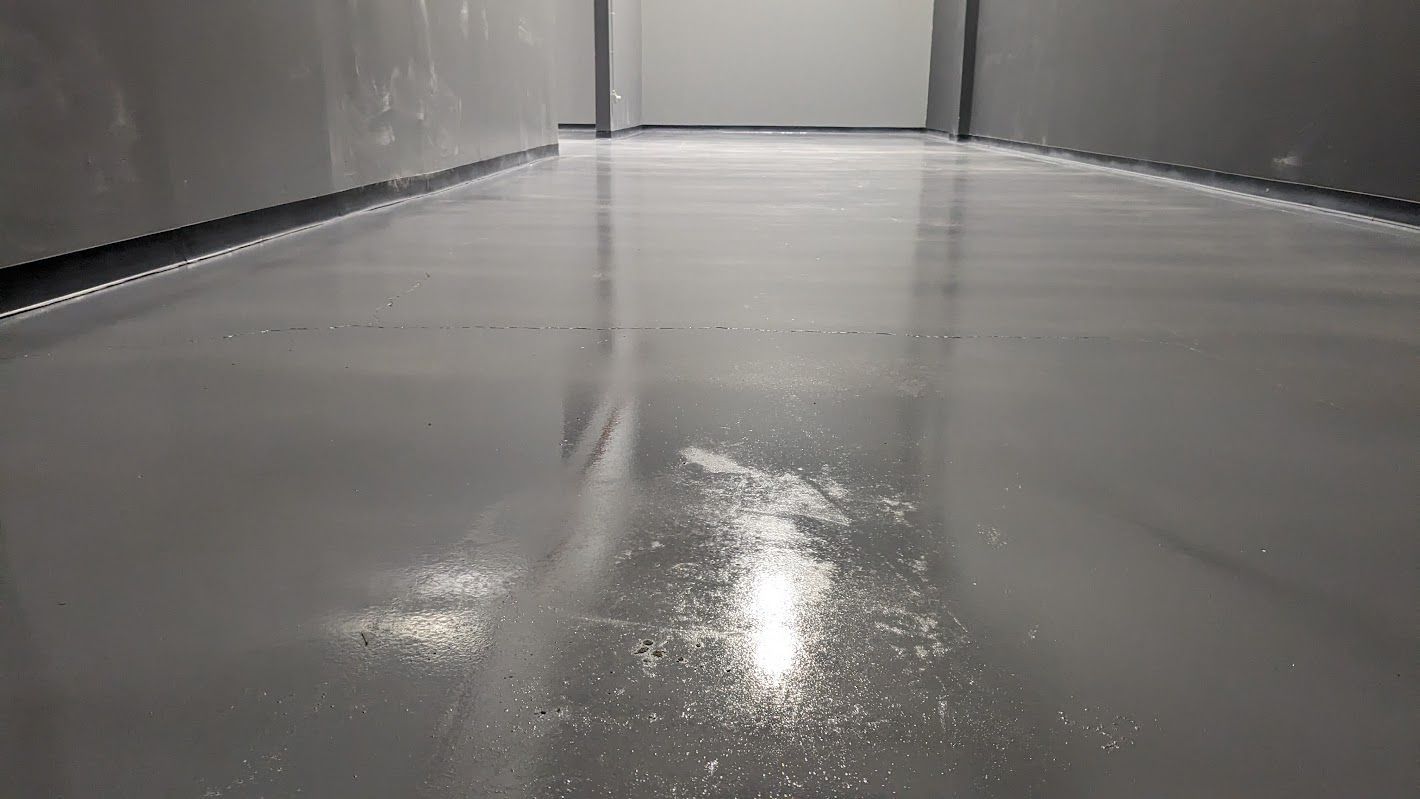
A high-quality floor should maintain its shine for years. If your floor has become dull, scratched, or stained in a short period, the topcoat has likely failed. This is common in commercial settings or high-traffic home garages where a "solid color" kit was used without a protective clear coat. Once the gloss is gone, the floor becomes porous and starts absorbing road salt, oil, and grime, making it nearly impossible to clean.
Common causes of failed floor coatings
Understanding why a floor fails is the first step toward a permanent fix. Here are the most common reasons we encounter in the Upstate:
- Poor Substrate Prep : Using acid wash instead of diamond grinding.
- Contamination : Oil, grease, or old sealers still in the concrete.
- Low-Quality Materials : Using water-based DIY kits with low solids content.
- Improper Mixing : Not using a mechanical mixer or following precise ratios.
- Environmental Factors : High humidity or incorrect slab temperature during install.
When these factors aren't managed, you end up with a failing epoxy floor that requires a "failed-coating rescue." This involves grinding off the old material entirely to reach fresh, porous concrete again.
Should I repair or replace my failing epoxy floor?
If the failure is localized—such as one small chip—a repair might be possible. However, if you are seeing signs of delamination or bubbling across more than 10% of the floor, a full replacement is usually the only way to guarantee a long-term result. Patching a failing floor is often like putting a band-aid on a structural leak; the surrounding areas will eventually fail too.
The professional coating rescue process
At Greenville Epoxy Flooring, we specialize in rescuing these failed projects. Our process is built on technical detail rather than just aesthetics. We start with a full substrate grind using heavy-duty planetary grinders equipped with PCD (Polycrystalline Diamond) segments to strip away the failed epoxy.
We then address the underlying issues:
- Moisture Testing : Ensuring the slab is dry enough for a new bond.
- Crack Repair : Filling joints and fissures with high-modulus epoxy fillers.
- Industrial Priming : Using a deep-penetrating primer that anchors into the concrete.
- High-Solids Coating : Applying professional-grade flake or metallic systems.
If you have a Basement Concrete Epoxy Floor Installation that is starting to peel or a commercial space that looks worn out, it is time to evaluate the integrity of the coating. A failed floor isn't just an eyesore; it's a liability that can lead to slips and falls.
Final takeaways for Greenville homeowners
Managing a failing epoxy floor requires an honest assessment of whether the original bond was ever sufficient. For homeowners in the Upstate, the combination of red clay, humidity, and varying slab ages makes floor coatings a technical challenge. Identifying peeling, bubbling, or yellowing early can help you transition to a more durable system like a full-flake polyaspartic finish.
- Inspect for Peeling : Check high-traffic areas and tire paths for lifting.
- Watch for Bubbles : Look for small blisters that indicate moisture issues.
- Monitor Color : Yellowing indicates UV damage and chemical breakdown.
- Evaluate Texture : A loss of gloss means the protective topcoat is gone.
- Choose Professional Prep : Ensure your next floor is diamond-ground for a permanent bond.
If you’re seeing these signs and want a floor that actually lasts, Contact us today to discuss a professional rescue for your garage or commercial space.